
-
Je winkelmandje is leeg
Ga naar de shop om producten in je winkelwagen te plaatsen
KLOM Electric Lockpick Gun Manual and Review
This comprehensive manual explains step by step how to assemble and use the KLOM electric lockpick gun. From charging the battery to mounting the head and applying the correct technique with a tension wrench: everything is covered.
Author: Ties
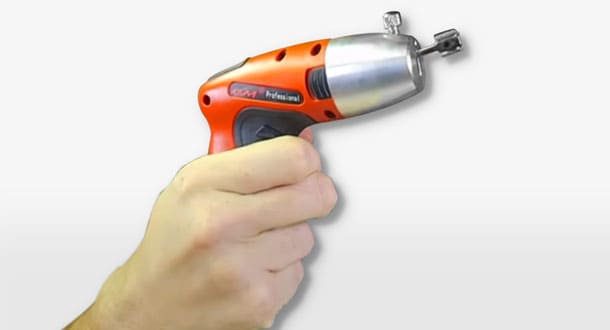
You are looking for the best lockpick gun to quickly and easily open locks. For this, I used the popular KLOM electric lockpick gun.
Electric lockpick guns (abbreviated EPG, Electric Pick Gun) are designed to make lockpicking faster. With a small motor, the needle strikes down frequently and hard.
This KLOM electric lockpick gun manual is created to achieve the best results with the EPG from KLOM.
The components of the KLOM lockpick gun
The electronic lockpick gun set from KLOM comes with two heads. The first head is a drill head and the second is a lockpick head.
The lockpick head is shown in the image below. The other head could be used for destructive opening to break open a lock.
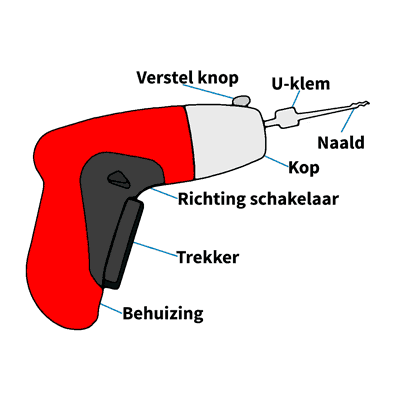
Make sure that the U-clamp is attached to the arm that extends from the head. You can attach the lockpick needles to this. Picking needles work as a striking tool.
Next, you will need to ensure that the direction switch is fully pushed in.
It does not matter which direction you push the switch. The mechanism of the lockpick head will function the same in both directions. If the direction switch is not fully to the left/right, then the lockpick head will not work.
For the drill head, the direction switch will determine the direction of the drill.
The adjustment knob at the top of the head will then need your attention.
1. Charge the battery
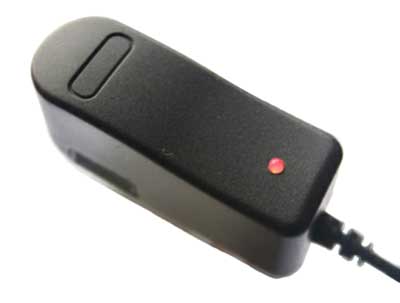
First, you need to ensure that the KLOM wireless lockpick gun is electrically charged.
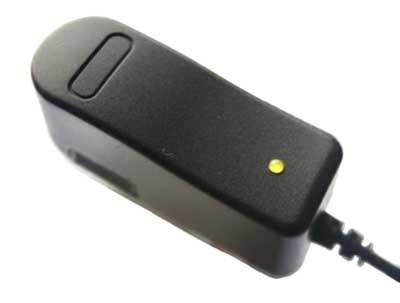
Once you plug the charger into an outlet, you will see a red light turn on. This red light will turn green when the KLOM EPG is fully charged. It will take about three hours for the battery of the KLOM pick gun to be full.
The indicator light turns green when the battery is fully charged.
Tip!
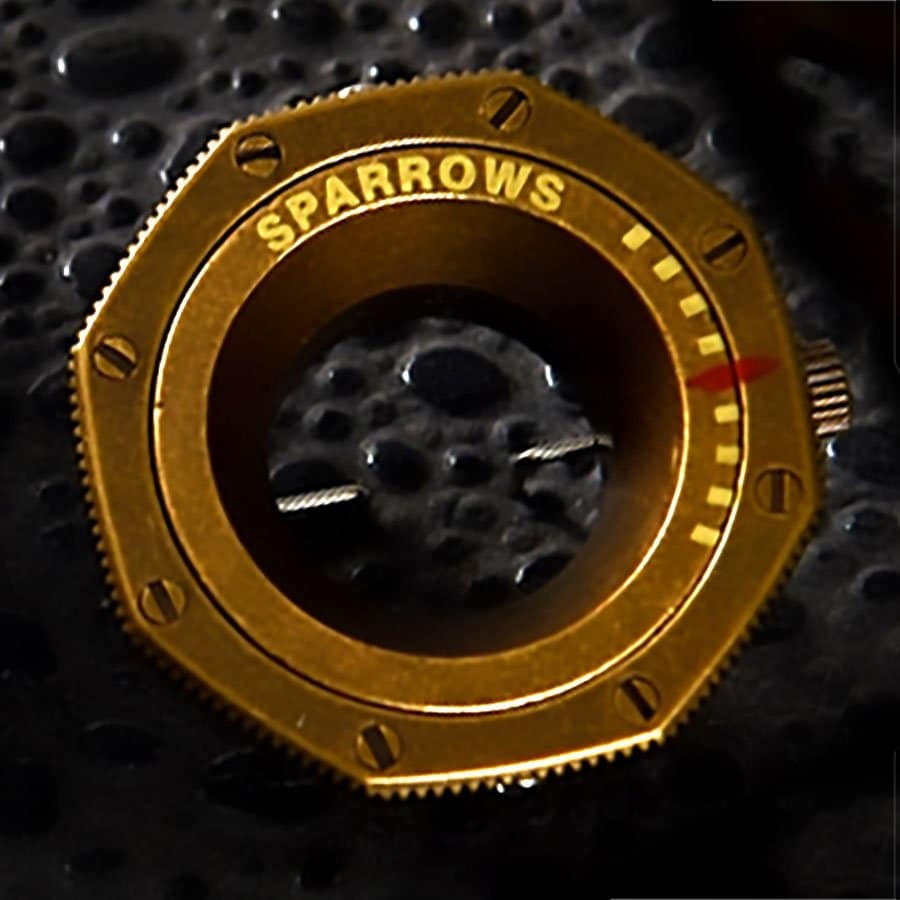
A good tool to apply tension is the tension wheel from Sparrows. With this small wheel, you can both see and feel the tension. This tension wrench is ideal for lockpick guns.
2. Mount the U-clamp
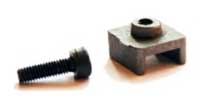
While the battery is charging, you can mount the U-clamp to the arm of the head. With this clamp, you can secure the lockpick needles to the pick gun.
The U-clamp will need to be secured to the arm with a screw. Do not tighten the clamp too much while there is still no needle in it.
3. Choose a lockpick needle
Select a needle you want to use from the included attachments.
You will need to try out all the included pieces. This way, you will find out which piece fits best with the lock.
Now place the needle under the U-clamp and then tighten the nut securely.
4. Mount the lockpick head
Once the KLOM gun is fully charged, you can mount and use the head. Look at the inside of the head and the end of the housing. This will indicate how the two parts should be put together.
Twist the head onto the housing of the EPG to secure it. To take it apart again, repeat this process in the opposite direction.
It may happen that it seems like the head does not want to attach to the housing.
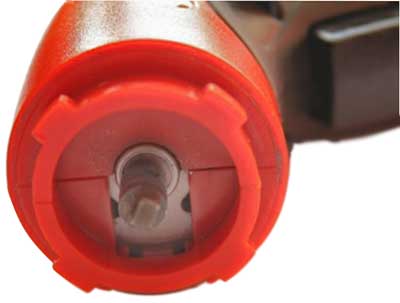
In that case, the black lever at the front of the mechanism is incorrectly turned. You can easily fix this by pressing the trigger. You can also turn the lever with your finger.
5. Check the direction switch
Make sure that the direction switch is fully moved to the left or right.
The direction ultimately makes no difference for lockpicking.
So it is very important that the switch is fully moved to the right or left. If the switch is in the middle, the lockpick head will not work.
6. Final focus: the adjustment knob
At the top of the lockpick head, you will see the adjustment knob. You can turn this clockwise or counterclockwise.
Turn the knob clockwise. This will push the screw further into the housing. This presses the screw against the arm holding the lockpick needle, reducing its movement.
We recommend starting with as little movement as possible. Gradually loosen the screw while lockpicking.
Once you have found the right setting, you will hardly ever need to adjust the screw again.
Technique for Electronic lockpick gun
When using an Electric lockpick gun, you will need to learn a good technique.
Tension wrench for lockpick guns
While finding the right strike, you will need to look for the right tension wrench.
The tension wrench should not interfere with the lockpick gun. The tension wrench should also not touch the first pin of the lock.
A Top of Keyway (TOK) tension wrench can also help with this. They give you plenty of room above all the pins.
How a KLOM lockpick gun works
You need to place the needle of the lockpick gun into the keyhole. Make sure the needle fits all the way into the lock. The needle must cover all the pins.
You can place the needle in two ways: perpendicular or at a slight angle. For example, you can place the needle in a clockwise turn, at the 1 o’clock position. This slightly reduces the force of the strike. This can help to better position the pins.
A lockpick gun works with kinetic energy. The needle strikes against the key pins, causing the locking pins to shoot down. This is similar to billiards, where one ball moves another.
Now you can use the lockpick gun by pulling the trigger. At the same time, apply some tension with the tension wrench. If the pins are set correctly, the lock will turn open.
With these klom lockpick gun instructions, you should be able to open any lock. You can buy the lockpick gun in our electric lockpick gun shop. Here you can see the Electric lockpick gun from KLOM, as well as the kronos lockpick gun.

More Lockpicking Blogs
Want to learn lockpicking? With the right lockpick set and our guides, you can open your first lock within just a few hours. Whether you choose a beginner lockpicking set or professional lockpick tools, our articles will teach you all the techniques step by step.
What is Core Pull Protection?
Core pull protection safeguards your door lock against a specific burglary technique where the cylinder core is forcibly pulled out of the lock. In this article, we explain how...

What Types of Locks Are There?
Discover which types of locks you encounter in Europe: from padlocks and profile cylinders to oval cylinders, knob cylinders, interchangeable cores, and wall or mortise locks. This guide explains...
How Do I Open a Mailbox? Dutch Mailbox Locks
Mailbox blocked or lost key? Dutch mailboxes primarily use wafer locks and pin tumbler locks. In this article, we explain how these locks work, what the differences in security...
ABUS Bypass Driver – Open ABUS 72/40 Padlock
The ABUS 72/40 is a popular padlock, but it has a notable weakness: the Bypass Driver technique. In this article, I will explain step by step how this bypass...