
-
Je winkelmandje is leeg
Ga naar de shop om producten in je winkelwagen te plaatsen
Setting Up a Practice Lock Yourself
Learn step by step how to create your own lockpicking practice lock from an ABUS 72/40 padlock. From disassembling the cylinder to progressively repinning: this comprehensive guide helps you create a practice lock that suits your skill level, including frequently asked questions.
Author: Ties
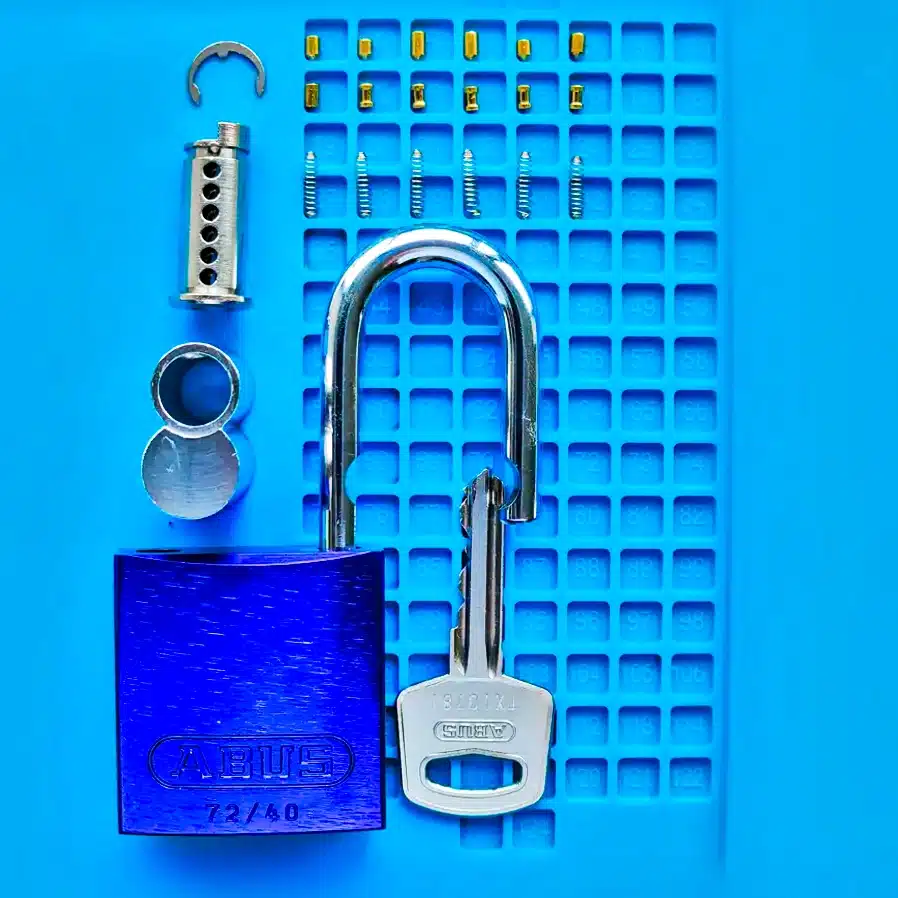
Lockpicking is not just a skill but also an art. It requires patience, precision, and above all, practice. Creating a lockpick practice lock can significantly accelerate your learning curve.
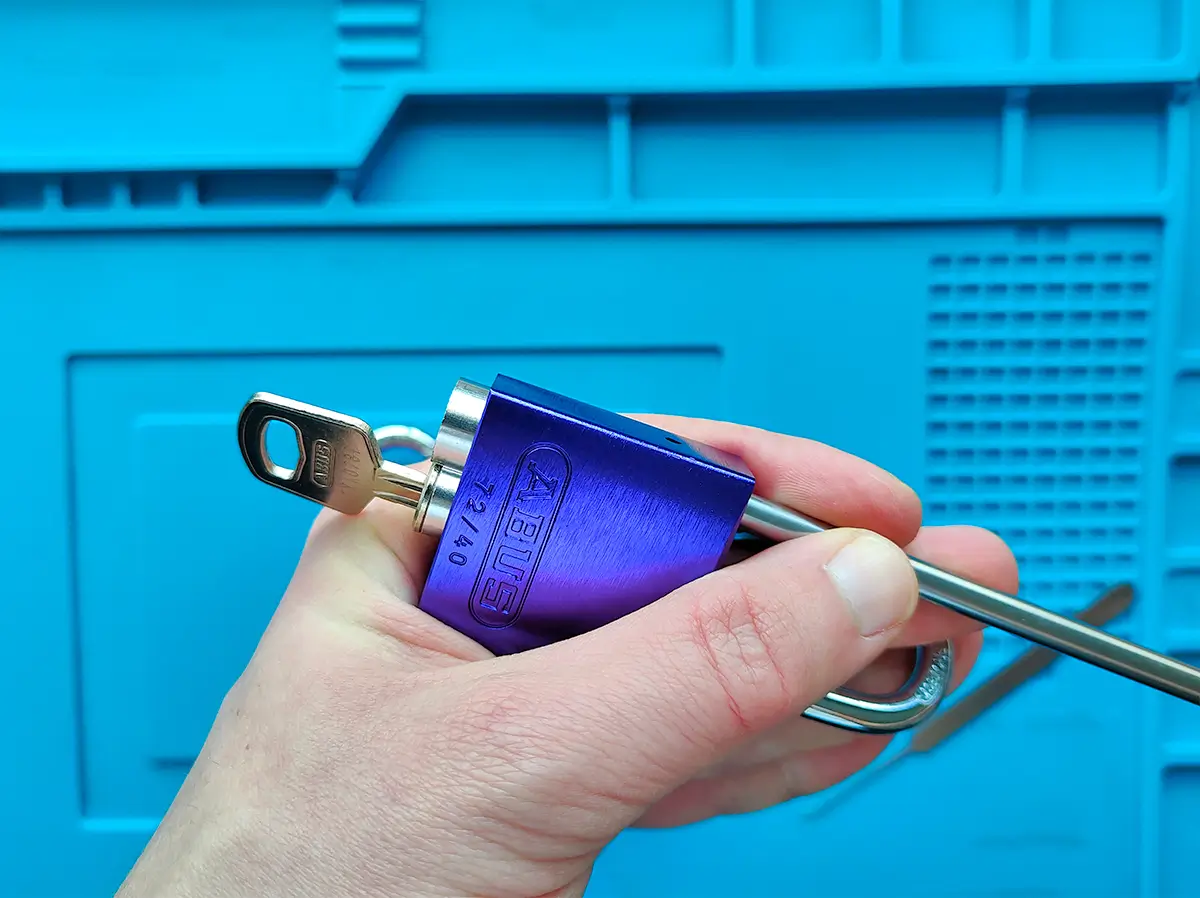
I will guide you step by step through the process of setting up your own practice lock. We will start with the basics and work towards a completely customized practice lock. Even a simple lock from Praxis can be transformed into an excellent practice lock. Let’s get started!
The Benefits of a Practice Lock
Before we dive into the technical details, I will briefly discuss the benefits of your own lockpicking practice lock. A practice lock gives you the opportunity to practice without worrying about damaging a functional lock.
It provides insight into how locks work, which is crucial for any lockpicker. Moreover, by practicing with a lock that you have set up yourself, you can adjust the difficulty level as your skills improve. This way, you can learn how to process certain feedback from lockpicking earlier.
Step 1: Selecting the Lockpicking Practice Lock and Tools
Virtually any cheap lock is suitable as a practice lock. For this guide, we will use an ABUS 72/40 padlock due to its versatility and the ability to repin. This lock is robust and provides a good foundation for beginners and advanced users to practice lockpicking techniques.
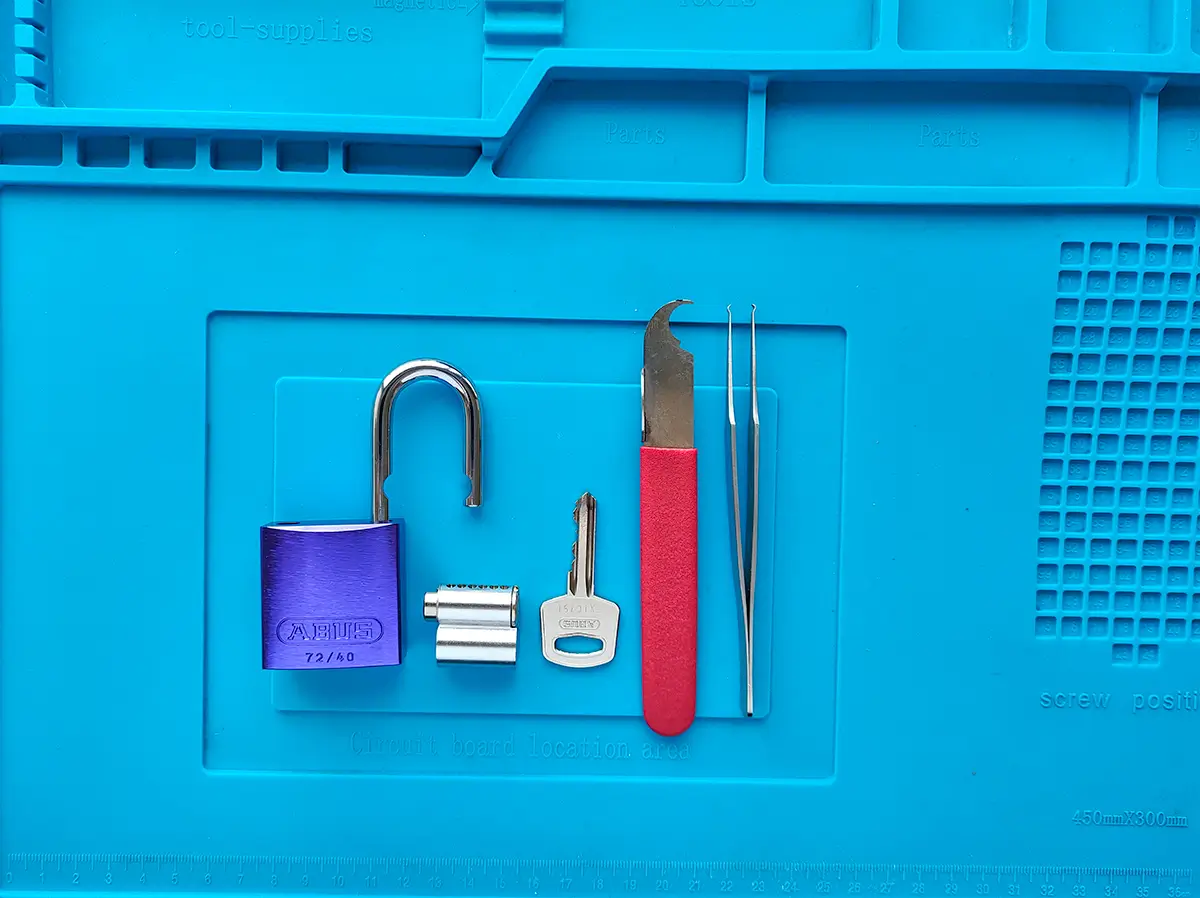
This is a padlock, so we need to find the screw that holds the cylinder core of the lock in place. This screw is often located under the shackle, once you have unlocked it. Unscrew this screw. You can now easily push the core out.
I will use this further to disassemble the lock:
- A Plug Follower
- A C-clip Remover Tool
- A Pinning Tweezers
- A Pinning Mat
- A Screwdriver (only for padlocks)
The C-clip Remover, the Plug Followers, and more handy tools can also be found in this set. More handy tools for this can be found on this page!
Step 2: Removing the Cylinder from the Padlock
The first step in setting up the ABUS padlock is to remove the cylinder from the padlock. You do this by loosening the screw at the shackle entrance, as you can see in the accompanying images. For those who want to modify a cylinder lock, this step is not necessary.
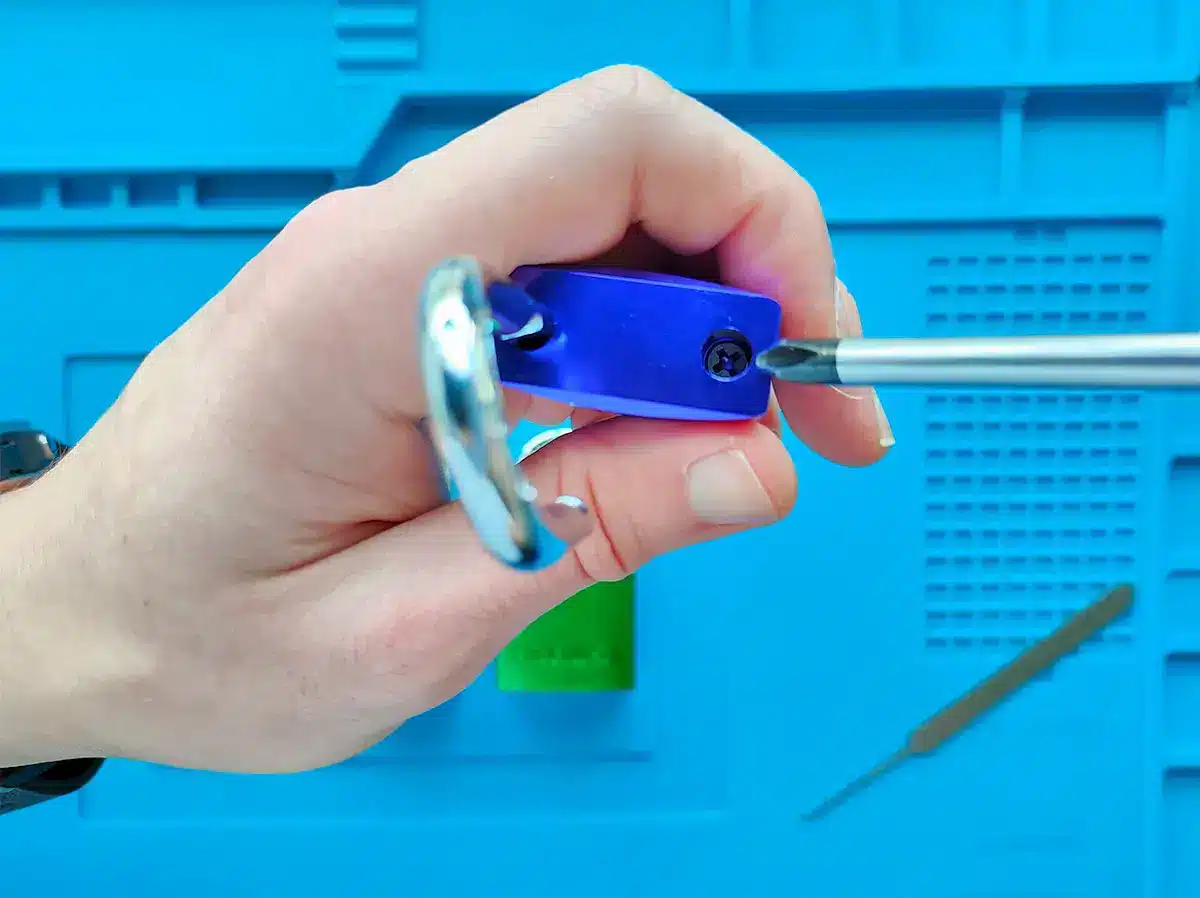
Once the screw is removed, you can take the cylinder out of the lock. This process may vary depending on the lock, but for the ABUS 72/40 padlock, it is relatively simple.
Step 3: Removing the C-Clip
After removing the cylinder, the next step is to loosen the C-clip.
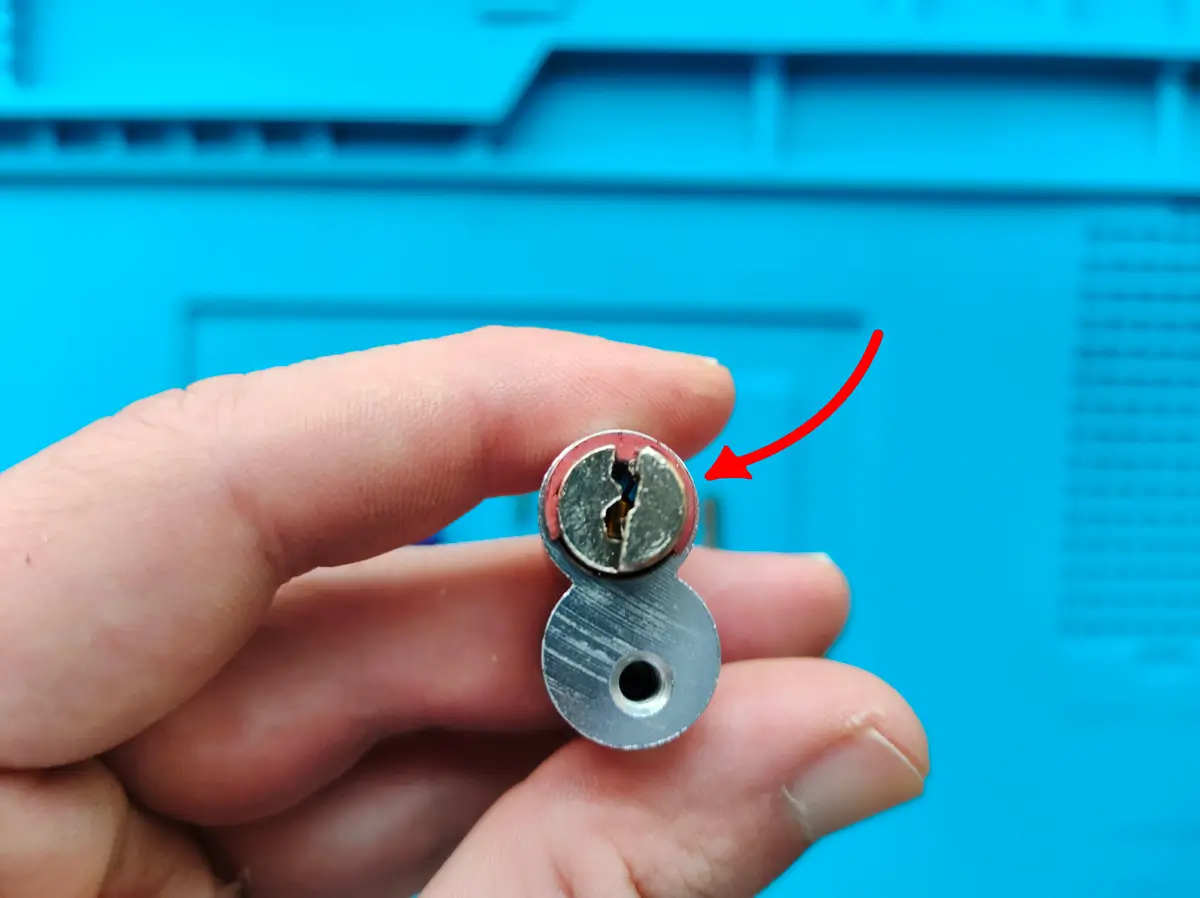
This small clip holds the cylinder in place inside the lock. With a C-clip remover tool, you can easily remove this clip. This is a delicate step; make sure not to bend or damage the clip.
Step 4: Using the Plug Follower
With the cylinder and C-clip removed, it is now time to use the plug follower in the housing of the lock.
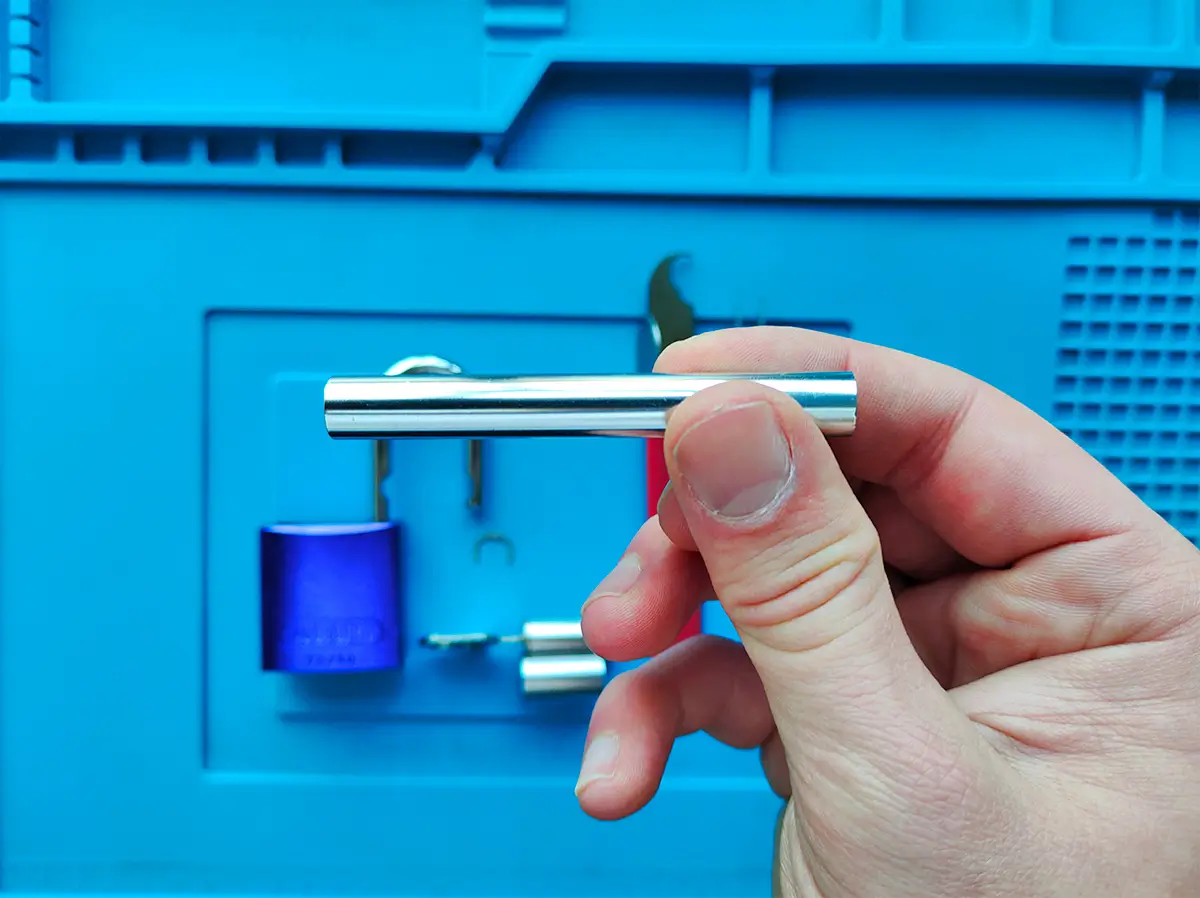
This tool helps you replace the cylinder without the pins and springs jumping out of their position. Make sure to push the core out of the housing with the plug follower.
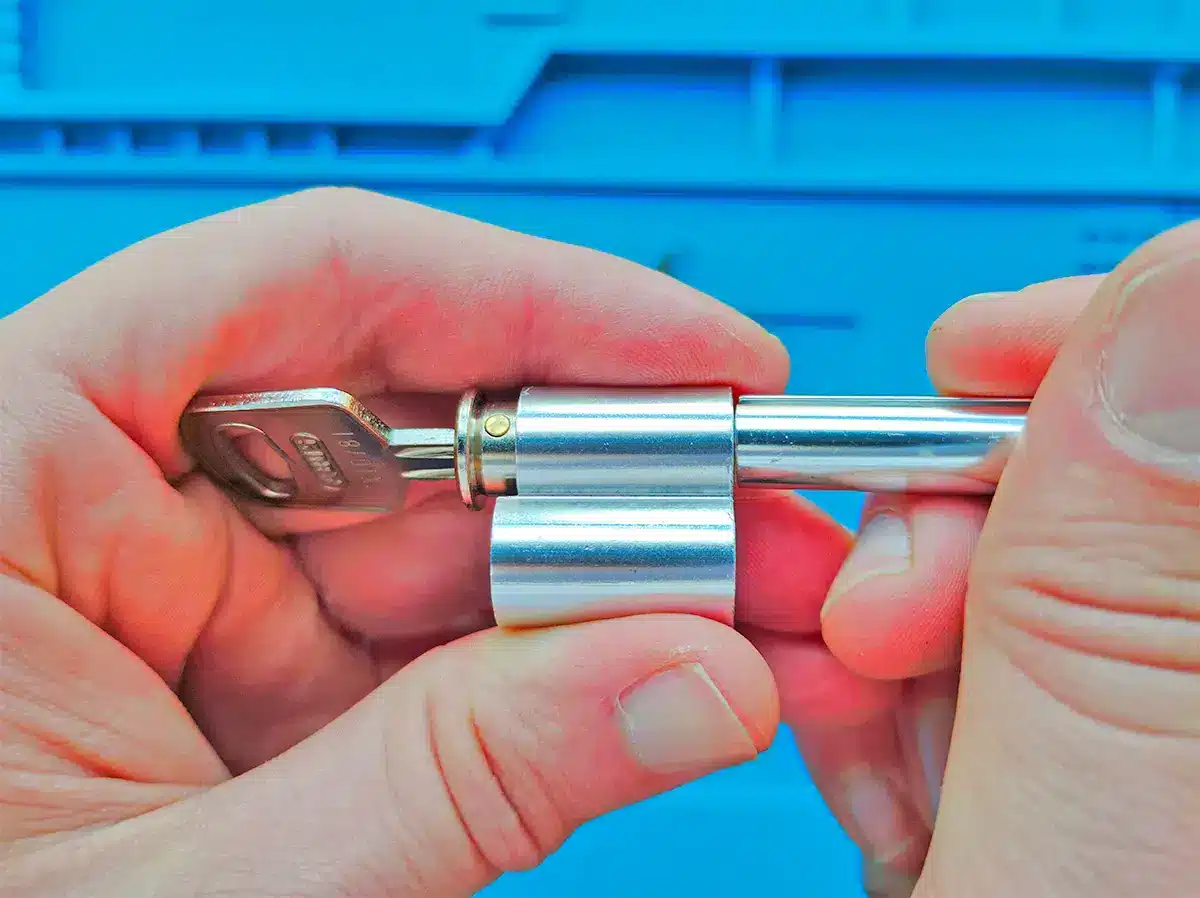
There should be no gap between the plug follower and the cylinder. The plug follower provides a smooth transition for safely removing the cylinder.
Step 5: Removing and Sorting the Pins from the Core
Now that the plug follower is in the core of the housing, you can proceed with the cylinder. We just took this cylinder out. It is time to remove the pins.
This must be done carefully to avoid mixing up the order of the pins. It is advisable to remove the pins one by one and sort them in the order in which they come out of the cylinder. This way, you create an organized workspace and ensure that you can reassemble the lock correctly later.
Step 6: Emptying the Housing
I just explained how to remove the pins from the cylinder. The next step is to empty the housing of your own practice lock. The housing still contains the plug follower from step 4. We need to carefully remove this plug follower from the housing to prevent losing any locking pins and springs.
This can be a challenge, as the springs are under tension and the pins can spring away. A good tip is to do this over a catch basin, so that any parts that spring away can be easily found.
I once had this go wrong, which is why I advise vacuuming beforehand to remove any small debris from the floor. If a pin falls on the floor, you will find it without much frustration.
Tap the housing well to ensure that everything is out. A special tweezer can help with this, but any other tool will also suffice!
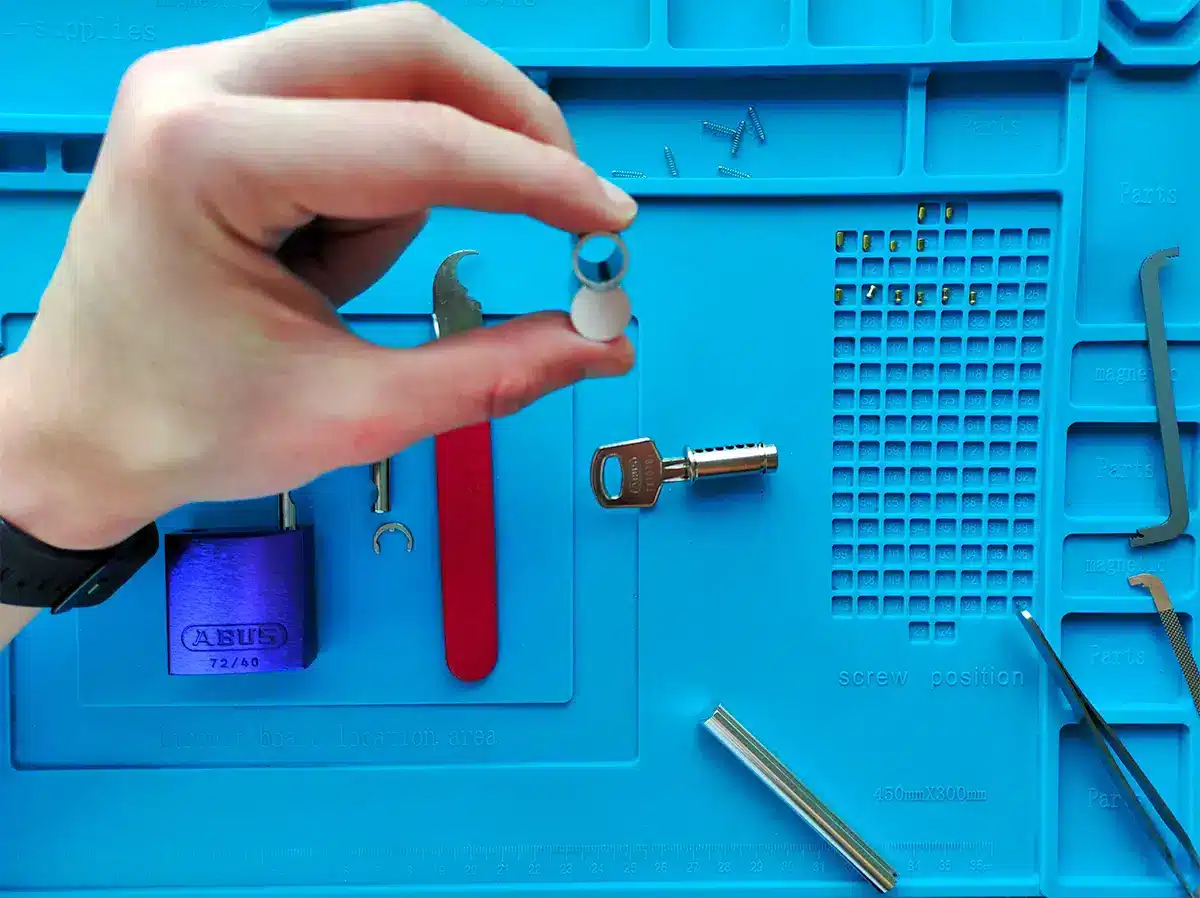
Step 7: Replacing Pins and Springs
Now that the housing of the lock is empty, you can start replacing the pins and springs. For a practice lock, you choose to use fewer pins than the lock originally had. This makes the lock easier to pick.
For replacing the pins, I use a special pinning tweezer. This tweezer is very handy for repinning your practice lock, as it has a special tip to hold pins (or springs).
First, place the springs back in the housing, followed by the locking pins. Make sure to place the pins back in the correct order, as you sorted them earlier.
A tip is to grab the pins from the top so that you can push them deep into the hole. With the plug follower, you apply pressure on the pin while putting it back. This way, the pin cannot spring out.
I fill the lock with only two pins so that I can clearly understand where the feedback comes from. Are you looking for a good exercise to learn lockpicking? Check out this short lockpick course!
Step 8: Setting Up the Practice Lock
With all the pins and springs in place, it is now time to slide the cylinder back into the housing. This must be done carefully to ensure that the pins and springs do not shift or get damaged. Use the plug follower as a guide to smoothly place the cylinder back.
See in the video how I hold the core with its solid side against the pins. If the core is not pushed correctly into the housing, the pins can come loose.
Step 9: Replacing the C-clip
Correctly replacing the C-clip is a simple step in setting up your practice lock. After adjusting the pins and springs, the C-clip must be placed back on the cylinder to hold everything together.
This step ensures that the cylinder can be safely placed back in the lock without any parts coming loose or getting damaged.
Step 10: Checking the Settings
Before you use the lock as a practice lock, it is important to check that everything is installed correctly.
This can be done through visual inspection or, in the case of the ABUS 72/40 padlock, by using the special viewing window. Check carefully that the pins are correctly positioned and that the cylinder turns smoothly with the key.
Step 11: Preparing the Practice Lock for Lockpicking
Place the cylinder back in the padlock and screw the shackle tight. This is the final step to ensure that your practice lock is ready for use.
Now it is essential to test the practice lock to ensure that it is correctly set up for practice purposes. This can be done by checking if the lock opens smoothly with the corresponding key or by putting it to the test with lockpicking!
Frequently Asked Questions
Can any lock be used as a practice lock for lockpicking?
Yes, almost any lock can be modified to serve as a practice lock. With this exercise, you make the lock fit your current skill level.
Why should I make my own practice lock?
Making your own practice lock allows you to customize it to your learning process. You can start with a simple lock and gradually make it more difficult, providing an effective learning curve. Additionally, you learn how the lock is constructed.
What are the risks of modifying a lock for lockpicking?
The biggest risk is damaging the lock components, particularly the springs and pins. Follow the instructions carefully and work in a tidy environment to prevent damage.

More Lockpicking Blogs
Want to learn lockpicking? With the right lockpick set and our guides, you can open your first lock within just a few hours. Whether you choose a beginner lockpicking set or professional lockpick tools, our articles will teach you all the techniques step by step.
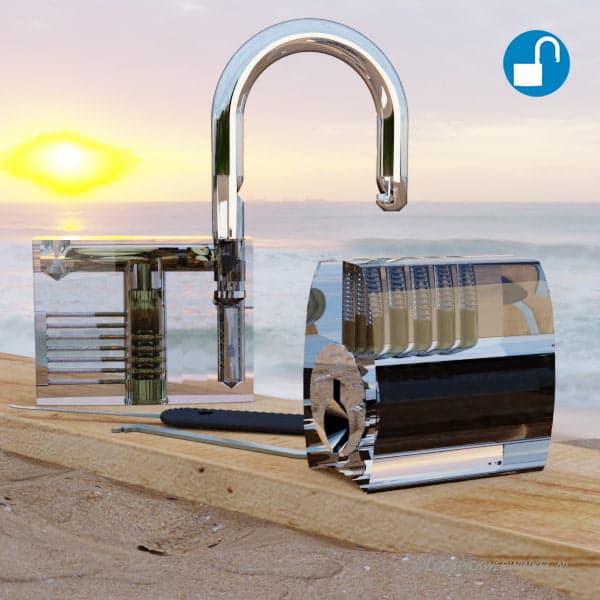
Single Pin Picking (SPP) Technique [2025]
You can lockpick a lock using the SPP technique. Use a tension technique and a lockpick with these tips to learn it.

How to open a lock without a key – All lockpicking solutions
Lost your key or locked out? In this article, we discuss all legal ways to open a lock without a key, from lockpicking to alternative techniques. We also provide...
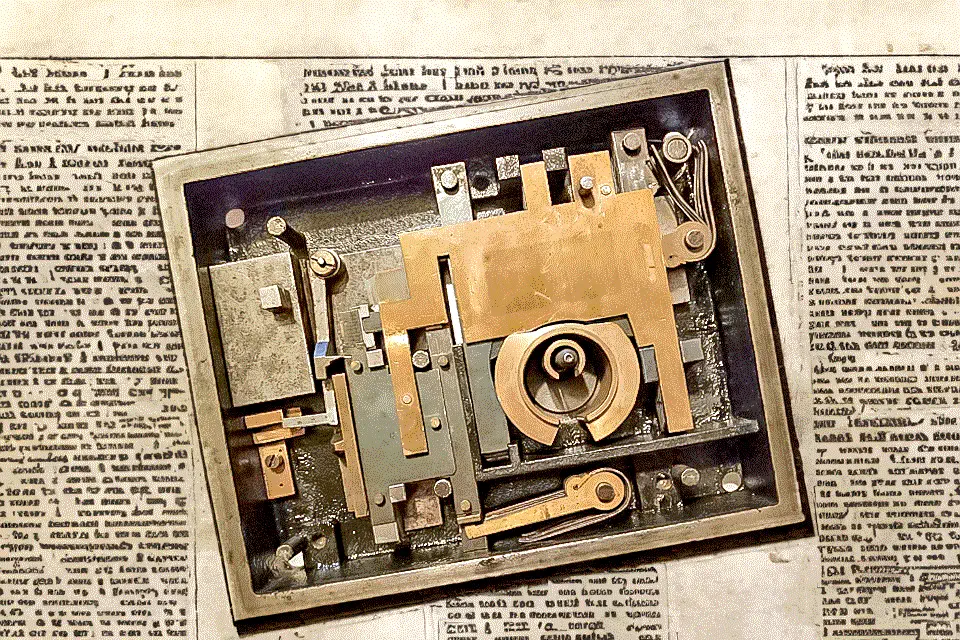
History of Lockpickers
Discover the historical story of the rivalry between locksmiths Solomon Andrews and Robert Newell in 19th century America. Both sought the perfect, unpickable lock, until Newell managed to open...

What Types of Locks Are There?
Discover which types of locks you encounter in Europe: from padlocks and profile cylinders to oval cylinders, knob cylinders, interchangeable cores, and wall or mortise locks. This guide explains...