
-
Je winkelmandje is leeg
Ga naar de shop om producten in je winkelwagen te plaatsen
Why you should polish your new lockpick set (and how I do it)
New lockpick sets come straight from the factory with sharp edges and burrs, even from expensive brands. In this article, I explain why polishing is essential and how to do it yourself with waterproof sandpaper (K240 to K600) from Gamma. With a step-by-step guide, common mistakes, and practical tips, you'll ensure your picks glide smoothly and last longer.
Author: Ties
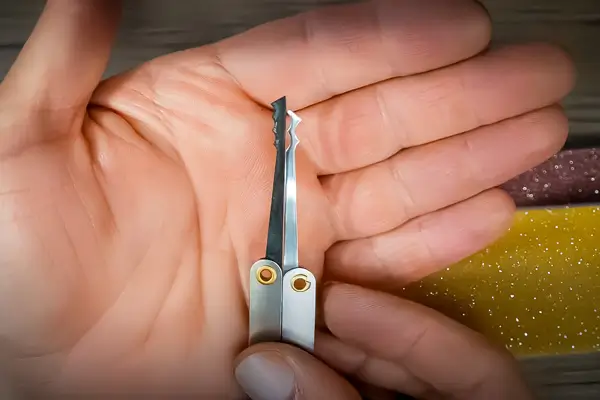
I have a problem with new lockpick sets. Even the expensive brands like Multipick, Sparrows, and SouthOrd come straight from the factory with sharp edges and burrs. The first time I used a Peterson hook, it felt like something was constantly snagging in the lock.
What is wrong with new lockpick tools
The manufacturer cuts or stamps your picks from a steel plate. Then they grind the shape and that’s it. They don’t take the time to polish all the edges because that takes hours per set. They assume you will do that yourself.
The problem is mainly in these areas:
The sides often have 90-degree angles. When your pick slides through the lock, you constantly feel resistance. You think you feel a pin, but it’s just your pick scraping against the metal.
The tip has small burrs from the cutting process. These snag on pins where they shouldn’t snag.
The transition to the handle often has a sharp edge where the pick was stamped. This is annoying when you practice a lot.
By polishing your picks, you prevent three problems:
- Your picks won’t snag on components in the lock
- You won’t damage the pins while picking
- You’ll get a better feel because feedback becomes clearer
What you need (available at Gamma or Praxis)
You don’t need much to polish your lockpicks. This is what I use:
- Waterproof sandpaper in K240, K320, K400, and K600
- A container with water
- An old towel
- Metal polish, Autosol or Flitz for the very last step (optional).
Note: use waterproof sandpaper, not standard sandpaper. Standard sandpaper doesn’t work well on metal because it gets saturated with metal particles within seconds. Waterproof sandpaper has a silicon carbide coating that prevents the sanding surface from clogging.
K240, K320, K400, and K600 are all available at Gamma or Praxis. A sheet costs between €3 and €5. K600 is the finest sandpaper you can find at regular hardware stores – and that’s just enough for lockpicks.
What grit do you actually need?
At Gamma, you’ll find sandpaper from K60 (very coarse, for paint removal) to K600 (very fine, for finishing). For lockpicks, you need this range:
- K240 or K320: to remove rough burrs and sharp edges
- K400: to smooth the surface
- K600: for a high-gloss finish
If your picks are not very rough, you can even start directly with K400. I usually start with K240 because I want to make sure all the burrs are gone.
How I polish my lockpicks
Make the sandpaper wet and lay it on a flat surface. I use my workbench, but a cutting board works just fine. Hold the lockpick flat against the sandpaper and move it back and forth in a smooth motion.
Focus mainly on these areas:
- The sides of the pick (where the steel is stamped)
- The tip (where there are often small burrs)
- The edges where the pick transitions to the handle
Start with K240 on the sides. Lay the pick flat on a table. Fold the sandpaper in half and sand the side edges until the sharp 90-degree angle gets a slight rounding. Do this on both sides. Sand until you feel that the sharp edges are gone. Rinse the pick under the tap.
Continue with K400. The surface will now be smooth. You’ll notice that the pick glides more easily over the paper. Rinse again.
Finish with K600. This is the finishing touch. After this step, your pick will have a mirror-smooth surface. Rinse and dry the pick thoroughly.
The whole procedure takes me about 3-5 minutes per grit per pick. So for three picks, I’m busy for about 30-45 minutes. That sounds like a lot, but you only have to do this once.
The difference is enormous
After I polished my first lockpick set, I immediately noticed a difference. Picks glide more smoothly through the keyhole, feedback is clearer, and I no longer damage pins while picking.
The best proof? My opening times improved by about 30%. Not because I got better, but because I finally felt what was really happening in the lock.
Common mistakes
I often see people pressing too hard while sanding. You don’t need force – just patience. Too much pressure only heats up the steel.
Another mistake: people skip grits. Jumping from K240 directly to K600 leaves deep scratches. You need to go through each step.
And the biggest mistake: using a Dremel. This heats up the steel and ruins the hardness of your pick. Only use manual sandpaper.
Do you have to polish all picks?
I polish every pick I buy. Even the expensive brands like Peterson, Sparrows, and Multipick come straight from the factory with rough edges. It doesn’t matter how much you pay.
Start with your most used picks. Usually, these are a short hook and a half diamond. Once you see how much difference it makes, you’ll want to polish the rest.
When you buy a new lockpick set, schedule an hour right away to polish. Your first practice session will be many times more effective because of this.
Practical tips
Don’t just polish the sides. The tip of your pick is the most important. That’s where you feel the pins, so it needs to be perfectly smooth.
Use water while sanding. This washes away metal particles and prevents the sandpaper from clogging.
Oil your picks after polishing. A drop of WD-40 or lubricant prevents rust.
Store your polished picks in a dry case. At Lockpickings, you’ll find handy storage folders that protect your picks.
My recommendation
Buy sandpaper before you start lockpicking. Go to Gamma and buy K240, K400, and K600. It will cost you €10-15 and you’ll have enough for dozens of picks.
Polish your picks right after purchase. This prevents weeks of frustration and incorrect techniques.
I sell lockpick sets through Lockpickings, but I honestly say that no set comes perfect out of the box. Budget an extra hour for polishing. It’s the best investment in your learning process.

More Lockpicking Blogs
Want to learn lockpicking? With the right lockpick set and our guides, you can open your first lock within just a few hours. Whether you choose a beginner lockpicking set or professional lockpick tools, our articles will teach you all the techniques step by step.
Is a lockpick set legal?
Is the possession and use of a lockpick set legal? We explain how the legislation works in the Netherlands and other countries such as Belgium, Germany, and the United...
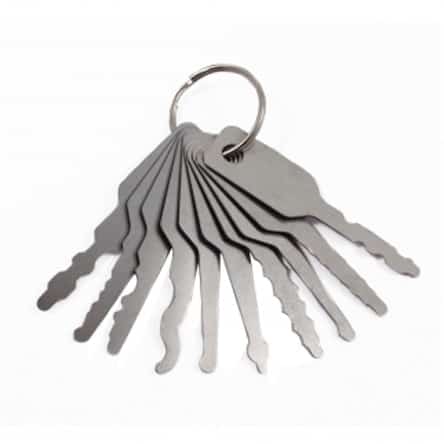
What are jiggler keys? Can you open locks with them?
Jiggler keys are special keys that allow you to easily open various cylinder locks without a lockpick and tension wrench. Discover how this handy tool works, how to use...
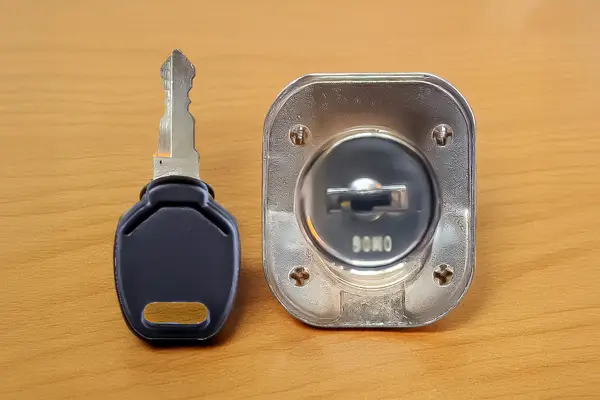
How Do I Open a Mailbox? Dutch Mailbox Locks
Mailbox blocked or lost key? Dutch mailboxes primarily use wafer locks and pin tumbler locks. In this article, we explain how these locks work, what the differences in security...
Geocaching in the Netherlands
Geocaching is a popular outdoor activity where you search for hidden caches using GPS. Discover the history of this hobby, how geocaches work, and how lockpicking sometimes plays a...