
-
Your shopping cart is empty
Go to the shop to add products to your cart
Making a Key with the Lishi Tool in 5 Steps
Lost your key and no locksmith at hand? Learn in 5 steps how to make a new key yourself with a Lishi tool using the impressioning technique, suitable for both wafer and pin tumbler locks. From preparing the blank key to inspecting markings and cutting the right depths, this guide will lead you step by step through the process.
Author: Ties
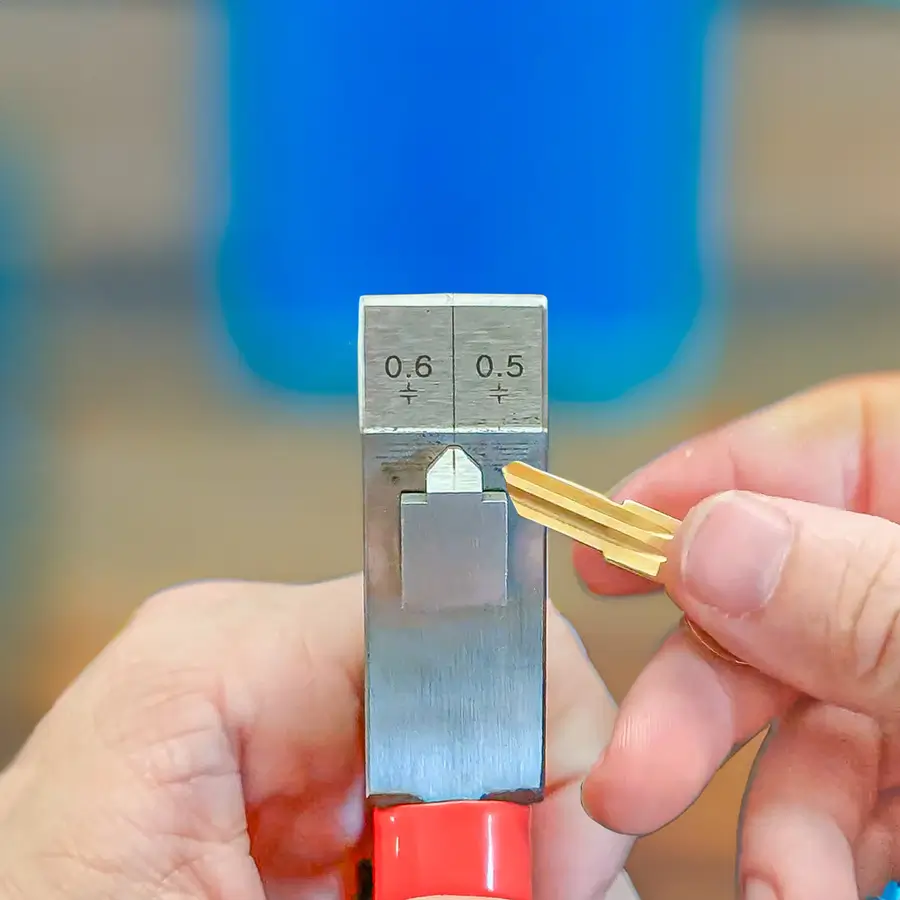
Are you missing your key? In this guide, you will learn how to make a key yourself without a locksmith, using a Lishi tool. In this guide, I will show you how we apply the impressioning technique on a wafer cylinder, but don’t worry. This method works for both wafer locks and pin tumbler locks.
Impressioning is a lockpick technique that does not use traditional lockpick tools, as explained by Deviant Ollam. Normally, files are used. Jos Weyers is a well-known figure in the lockpick world and has been a world champion in using this technique for many years.
In this guide, we will take a less precise approach than Weyers. Let’s take a look.
What Do You Need?
- Lishi tool: a powerful tool for cutting keys, including a punch. An impression file works much more precisely than a tool, but we will use the Lishi tool in this tutorial.
- Blank key: Use a blank key that is suitable for the lock you are working with. You can often buy this online.
- Lock: a wafer or pin tumbler lock for which you want to make a key.
Step 1: Preparation
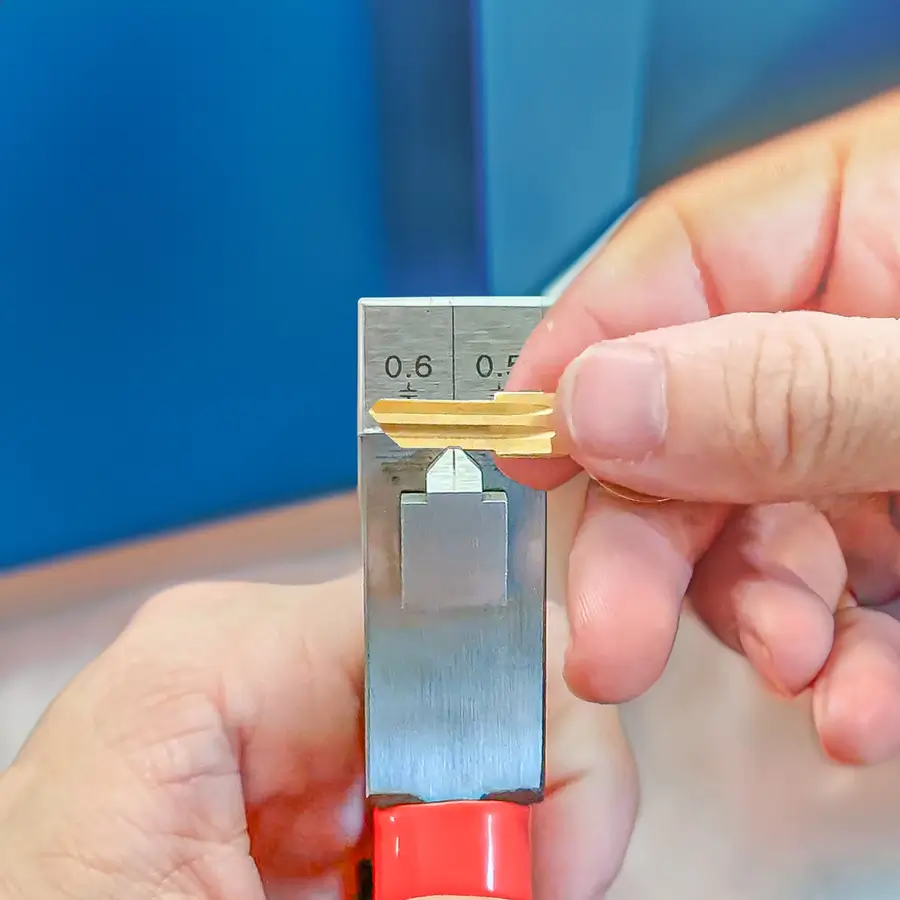
Take your Lishi tool and blank key. The tool contains a punch with which you can strike half hexagons. The Lishi tool is equipped with five lines on each side of the punch for precise cut depths: the lines on the left side are 0.6 mm apart and on the right side 0.5 mm. This helps you determine the depth of each cut accurately.
Step 2: Insert Key into the Lock
Insert the blank key into the lock for which you want to make a key. Make sure the key fits all the way into the lock. In this step, you will use a technique called ‘impressioning’ to create markings on the key. Look closely at the keyhole and try to get an idea of how deep the first cut should be.
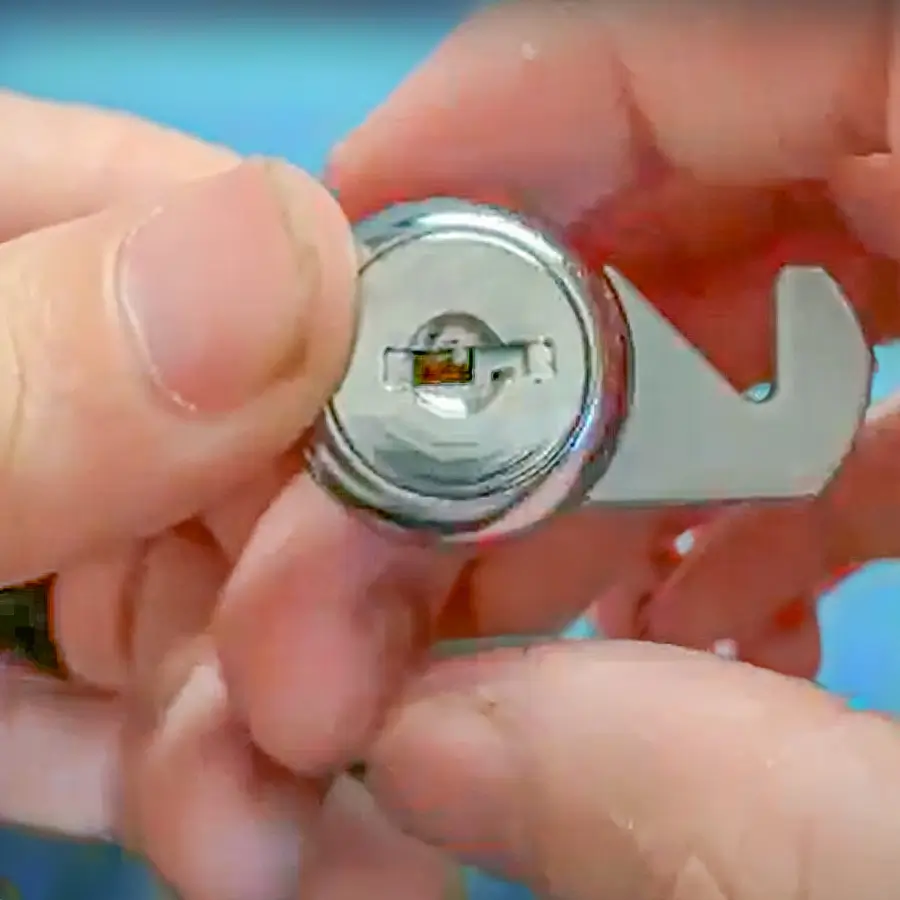
Wiggle the key up and down, and also move it from side to side to obtain more impressions.
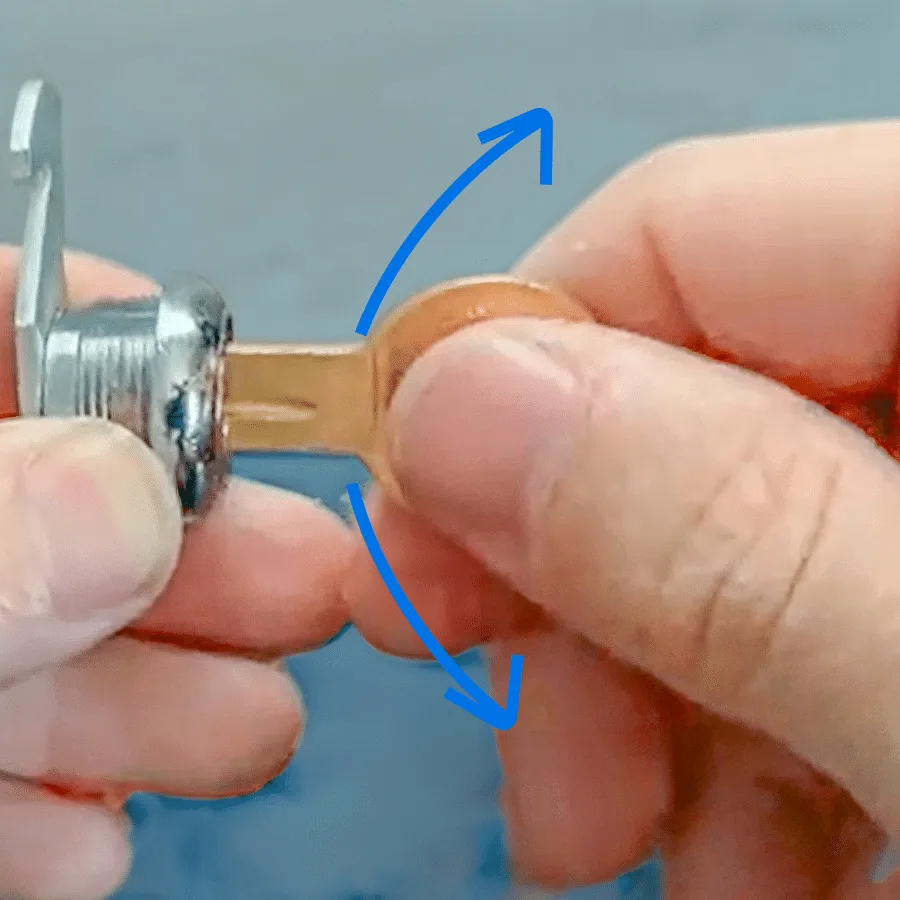
Step 3: Inspecting Markings
Carefully remove the key from the lock and examine it. You should see small impressions where the pins or wafers press against the key. These markings indicate where the key needs to be cut. Mark these spots if necessary for accuracy.
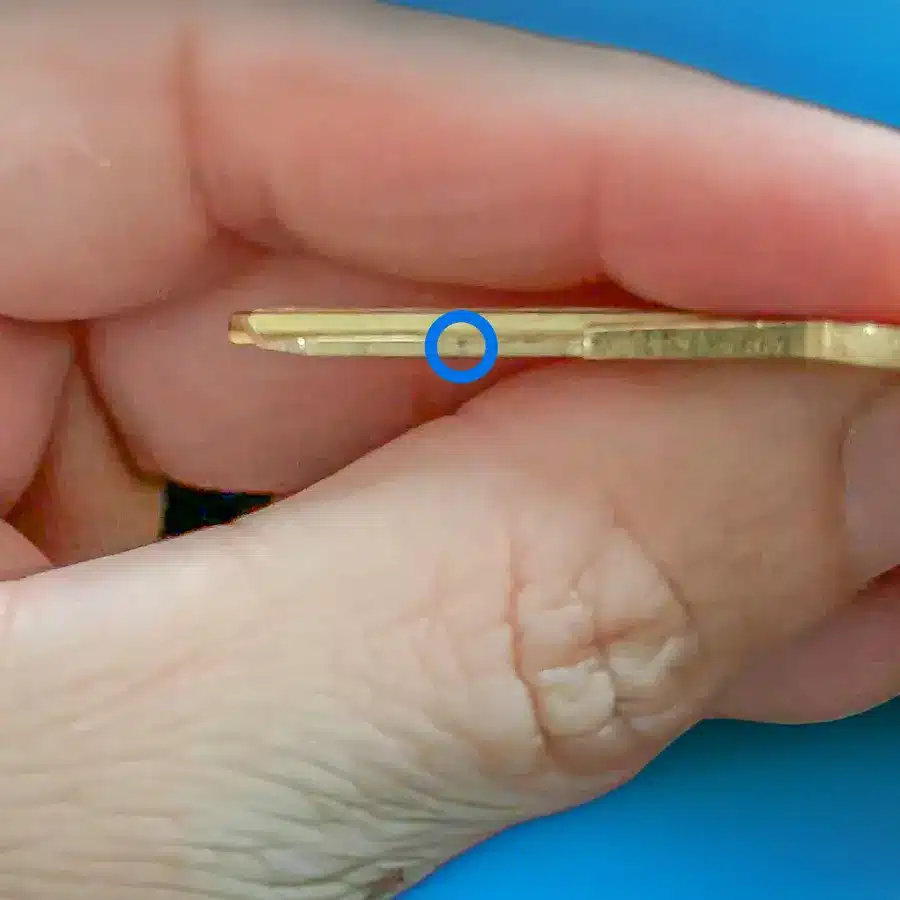
Step 4: Making the First Cuts
Place the key in the Lishi tool and adjust the punch so that it aligns with the first marking. Start with the first line to remove a small amount of material. For precise depths, use the left or right side of the punch lines, depending on how deep you need to make the cut.
Step 5: Testing and Repeating the Key
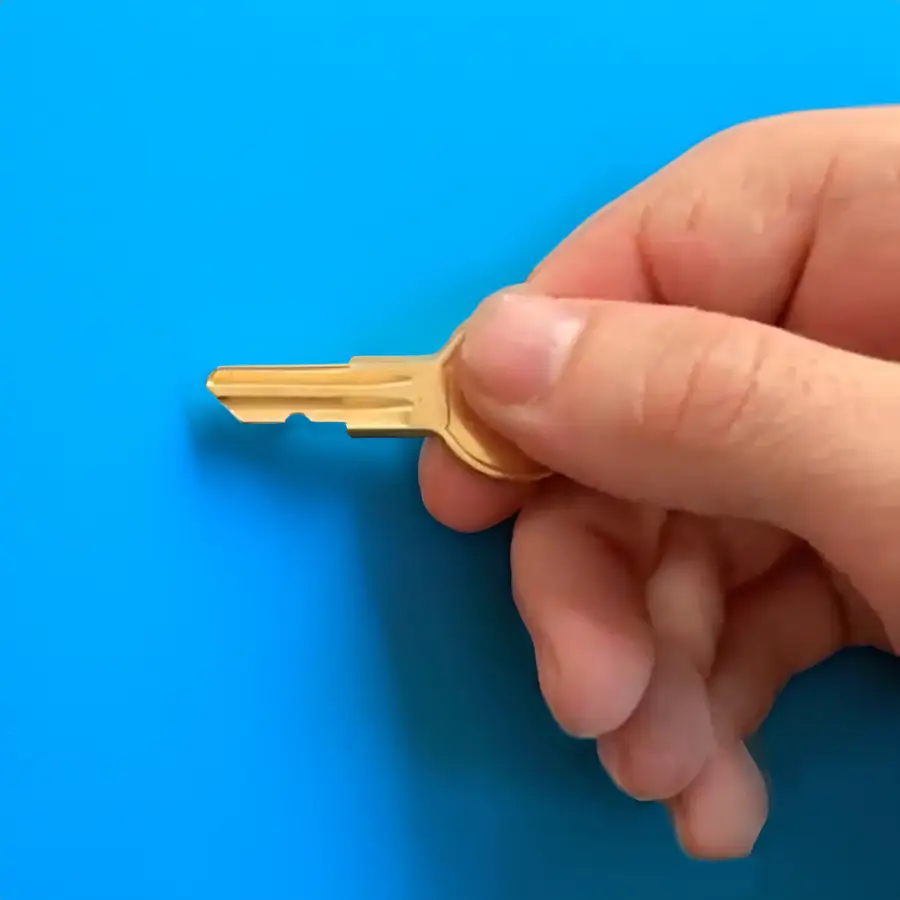
Try the cut key in the lock. If it does not turn smoothly, repeat the wiggling technique (step 3) to get new markings and cut again until the key works smoothly in the lock.
Tips for Success
- Ensure good lighting to see markings clearly.
- Be patient; it may take several cuts to achieve the perfect fit.
- Use a black marker or some sandpaper if necessary to make markings more visible.
- This is a form of lockpicking, but it works differently than a lockpick and tension wrench. For a comprehensive guide on how to use this lockpicking tool, read here.

More Lockpicking Blogs
Want to learn lockpicking? With the right lockpick set and our guides, you can open your first lock within just a few hours. Whether you choose a beginner lockpicking set or professional lockpick tools, our articles will teach you all the techniques step by step.
The Marking Technique – Lockpicking for Beginners
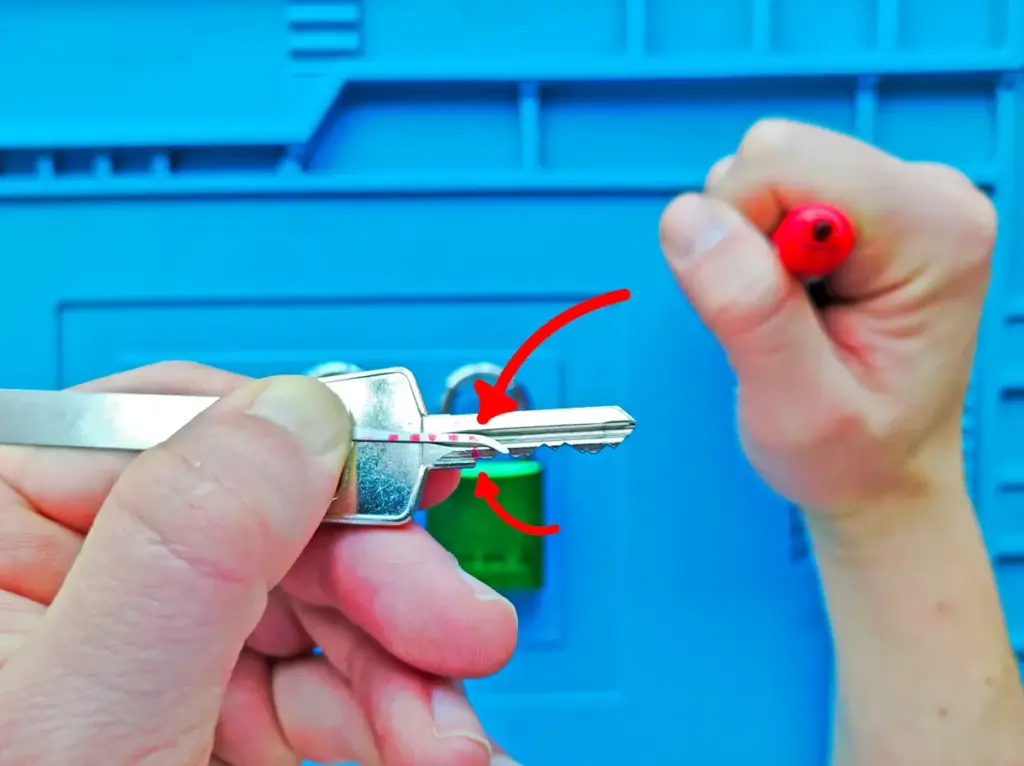
Learn how to mark your lockpick with a simple pen to learn lockpicking faster. This life hack gives you visual reference points, so you know exactly how deep to...
The real costs of a locksmith in 2026
What does a locksmith really cost in 2026? In this article, we discuss the fair rates for opening a closed door, how to recognize fraudulent locksmiths by warning signs,...
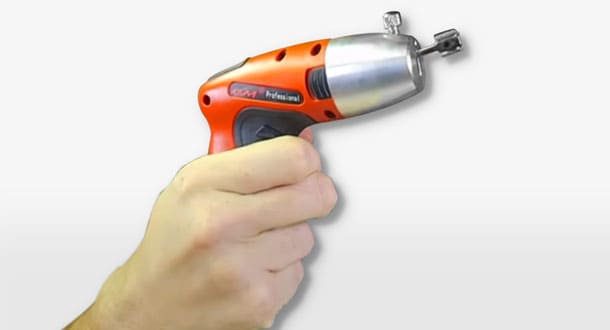
KLOM Electric Lockpick Gun Manual and Review
This comprehensive manual explains step by step how to assemble and use the KLOM electric lockpick gun. From charging the battery to mounting the head and applying the right...
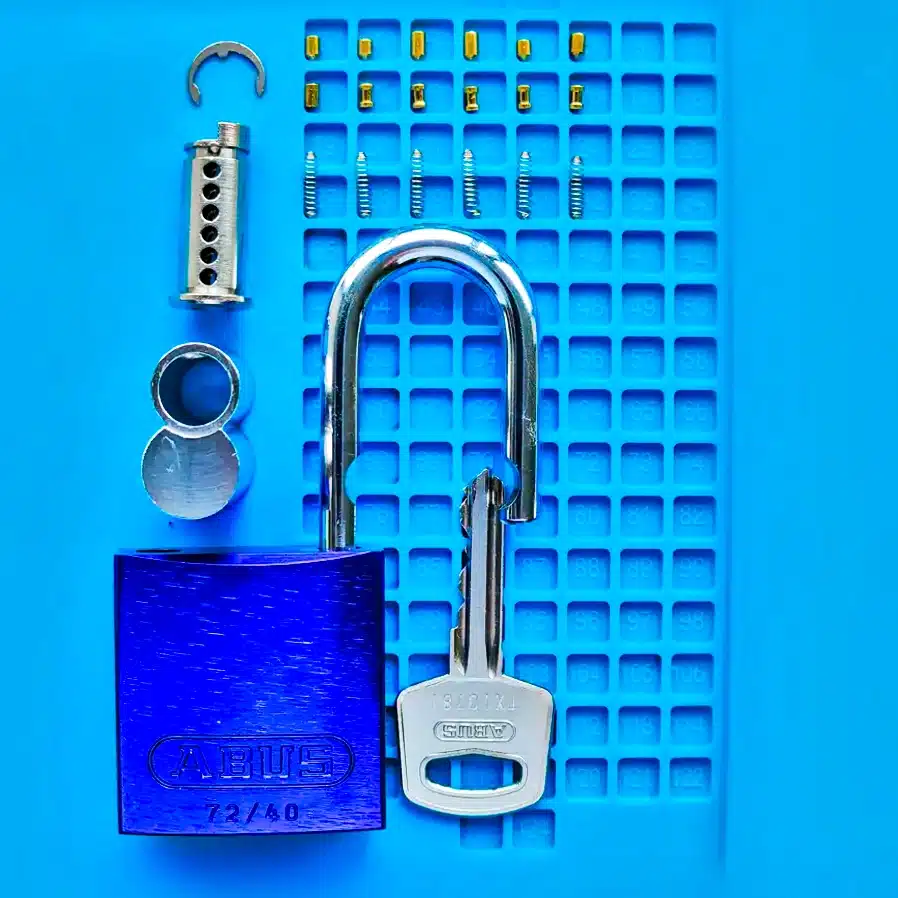
Setting Up a Practice Lock Yourself
Learn step by step how to create your own lockpicking practice lock from an ABUS 72/40 padlock. From disassembling the cylinder to progressively repinning: this comprehensive guide helps you...